How to Help AI Image Generation: Perfecting Text with a Two-Step Process
- Introduction:
- Explain the challenge: AI image generators often struggle with text as they process more data, leading to issues like misalignment, distorted fonts, or incorrect characters.
- Introduce your solution: Let the AI handle the non-text visuals, then add the text yourself using a tool like GIMP.
- Step 1: Generate the Image Without Text
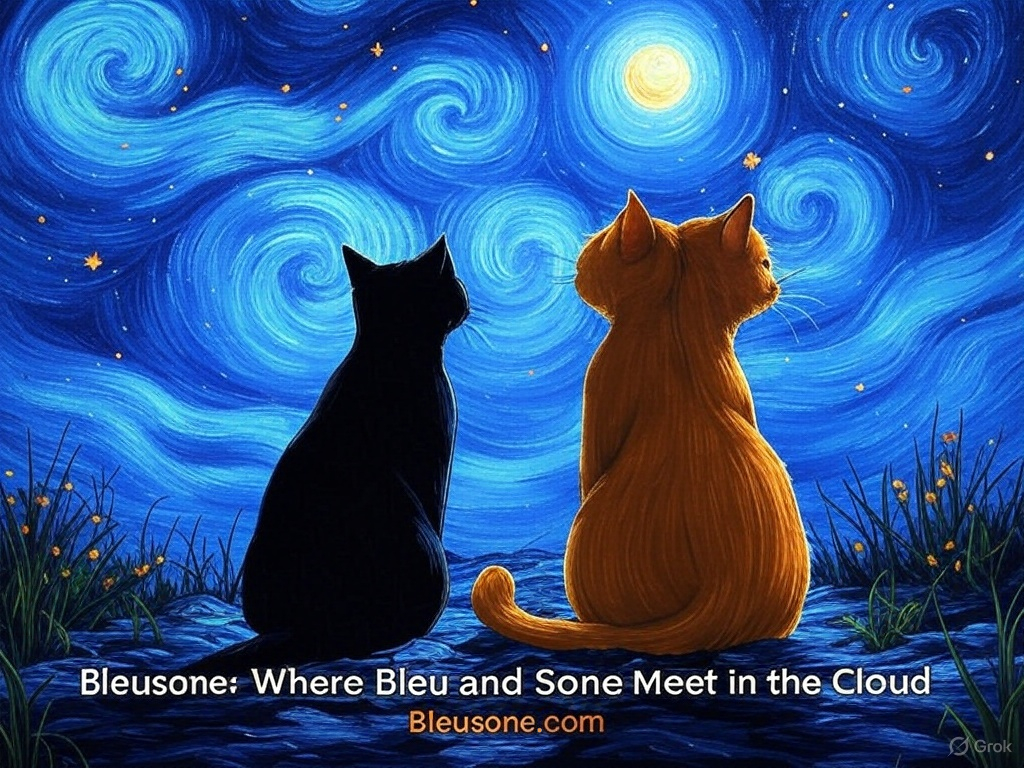
- Share how you provide detailed prompts for the visual elements (e.g., starry skies, cat silhouettes, flowers) but leave out the text.
- Example: For Bleusone, you asked for a starry sky with a black cat silhouette, then added "Bleusone" yourself.
- Step 2: Add Text in GIMP
- Describe your process: Use GIMP to add text in Arial font, with a white fill and a subtle orange outline (#e09248).
- Tip: Use Filters > Decor > Add Border in GIMP to create the outline effect.
- Step 3: Use AI to Copy and Keep Consistency
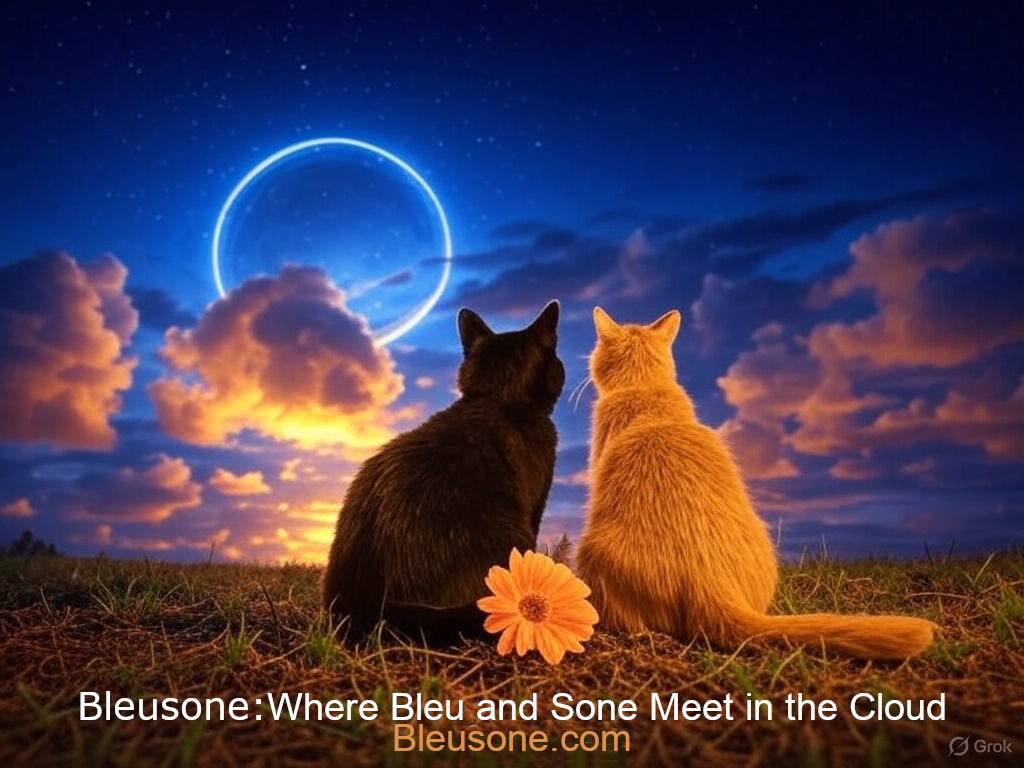
- Explain how you have the AI copy the edited image to apply the same text style across multiple images, ensuring consistency.
- Example: After adding text to the Dispatches image, you can ask the AI to apply the same text style to Lingerings, Gorgeous Things, and X Posts.
- Why It Works:
- Highlight the benefits: You get perfect control over text placement and style, while the AI ensures the visual elements stay consistent across your project.
- Mention how this saved time and frustration while building Bleusone.
- Conclusion:
- Encourage readers to try this method for their own projects, whether it’s a website, blog, or digital art.
- Share how this approach helped you create a cohesive, magical look for Bleusone.com.


